Installing Nextcloud on Raspberry Pi Part 1

Installing Raspberry Pi OS: The Foundation for Your Self-Hosted Nextcloud Server (Part1)

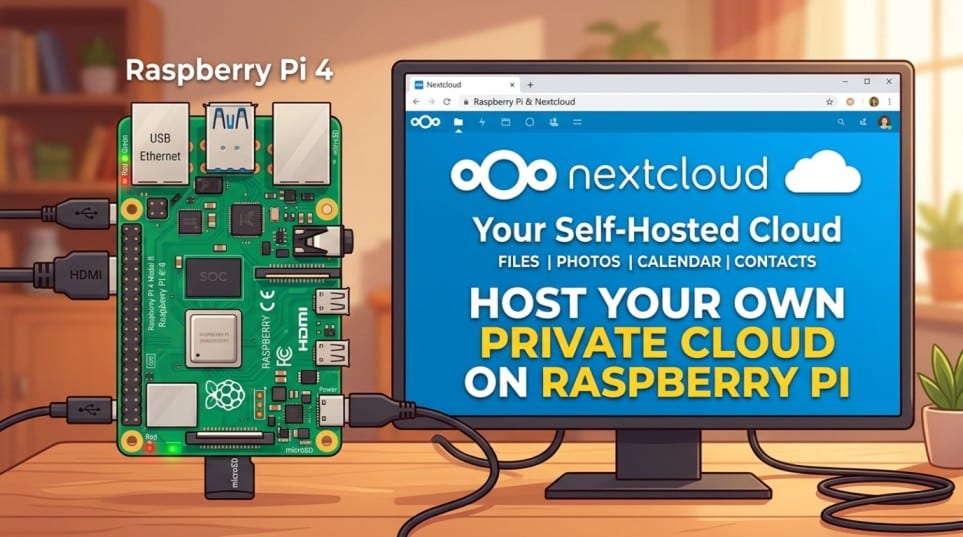
Privacy remains one of the most important considerations in today’s digital world often even more valuable than cost. While cloud storage services are convenient, many users remain uneasy about entrusting their personal data to third-party providers. The alternative? Hosting your own private cloud on hardware you control. Not only does this eliminate recurring subscription fees, but it also gives you complete ownership of your data.

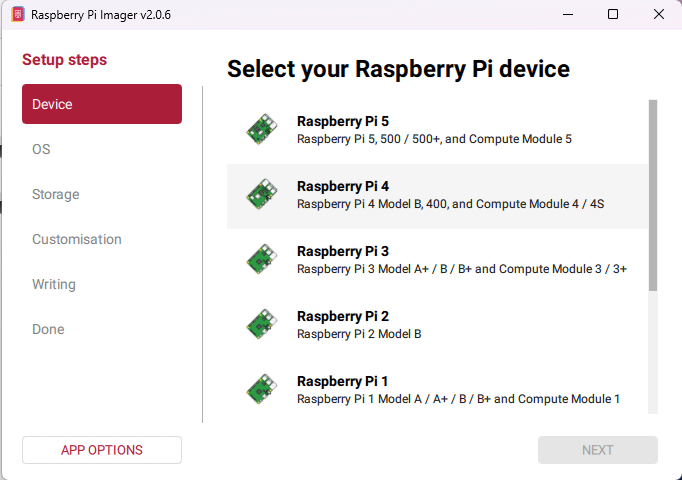
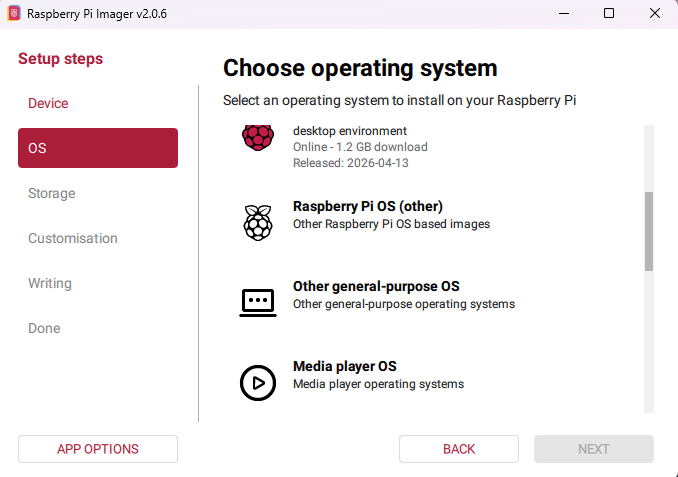
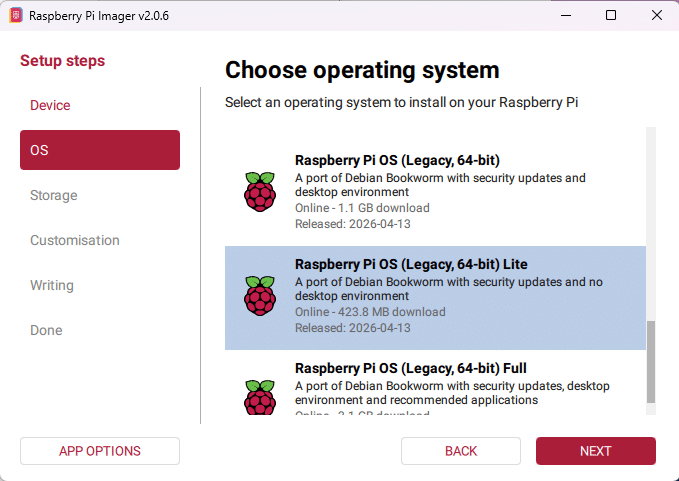
If you’ve been looking for a reliable, low-cost way to set up a personal cloud, a Raspberry Pi is an excellent choice. It’s compact, energy-efficient, and powerful enough to run Nextcloud smoothly. In this first part of our guide, we’ll walk you through installing Raspberry Pi OS the essential operating system that will serve as the foundation for your Nextcloud server.

Why Raspberry Pi OS (Legacy, 64-bit) Lite?

We recommend using the Raspberry Pi OS (Legacy, 64-bit) Lite based on Debian Bookworm. At the time of writing, the newer Debian Trixie release (the current testing branch) has not yet reached full production stability for all Nextcloud dependencies. If you are reading this after mid-2026, Trixie may be fully stable always verify the latest recommendations on the official Raspberry Pi website before proceeding. The Lite version is headless (no desktop environment), which keeps resource usage minimal and is perfect for a server running 24/7.

Step-by-Step: Installing the Operating System

Prepare Your Hardware

Insert a fresh microSD card into your computer.

Download and Launch the Raspberry Pi Imager

Download the official Raspberry Pi Imager from raspberrypi.com/software. Open the application and click Choose Device. Select your model (Raspberry Pi 5 or Pi 4).

Select Your Model

Choose the Operating System

Navigate through the OS selection menu:
Navigation Path
Choose OS → Other → Raspberry Pi OS (Legacy, 64-bit) Lite (Debian Bookworm)
Choose Operating System
Click Next
Next To Operating System

Select Storage

Navigation Path
Choose Storage and select your inserted microSD card
Select Storage

Configure Advanced Settings

Choose Hostname
Select Area and Timezone
Choose Username and Password
Choose Wifi
SSH Authentication

Write the Image

Review the summary, then click Write. You will see a warning that the SD card will be erased.
Write Image
Data Erase Warning
Click I understand, erase and write. The Imager will download the OS and write it to the card. This process usually takes 5–10 minutes.
Understand and Erase

First Boot

Once writing is complete:

The Pi will boot and automatically connect to your Wi-Fi network.

Accessing Your Raspberry Pi

Once the Pi has booted (the green LED will stop flashing rapidly), find its IP address in your router’s admin panel (usually under “Connected Devices” or “DHCP Clients”).

From your computer, open a terminal (macOS/Linux) or Command Prompt/PowerShell (Windows) and connect via SSH:

Navigation Path
$ ssh yourusername@IP-ADDRESS

Replace yourusername with the username you set during imaging, and IP-ADDRESS with the actual IP address of your Raspberry Pi. Enter your password when prompted.

🎉 You are now logged into your Raspberry Pi and ready for the next steps.

What's Next

In the next part of this series, we will secure and update the system, install Snap, and proceed with installing Nextcloud using the official Snap package. This method provides a straightforward, well-maintained way to run Nextcloud on your Raspberry Pi with automatic updates.

Would you like me to write the complete next section (system updates, Snap installation, and Nextcloud setup via Snap) right away, or would you prefer any adjustments to this part first?

Follow Us
Our Locations